on
Fingerprint Authentication using BiometricPrompt Compat
For past 2 years, I have been working on some apps which use FingerprintManager intensively. Those apps had different UI requirements for fingerprint authentication flow and the reason was that the project owners wanted to have fingerprint authentication screen similar to their favorite apps.
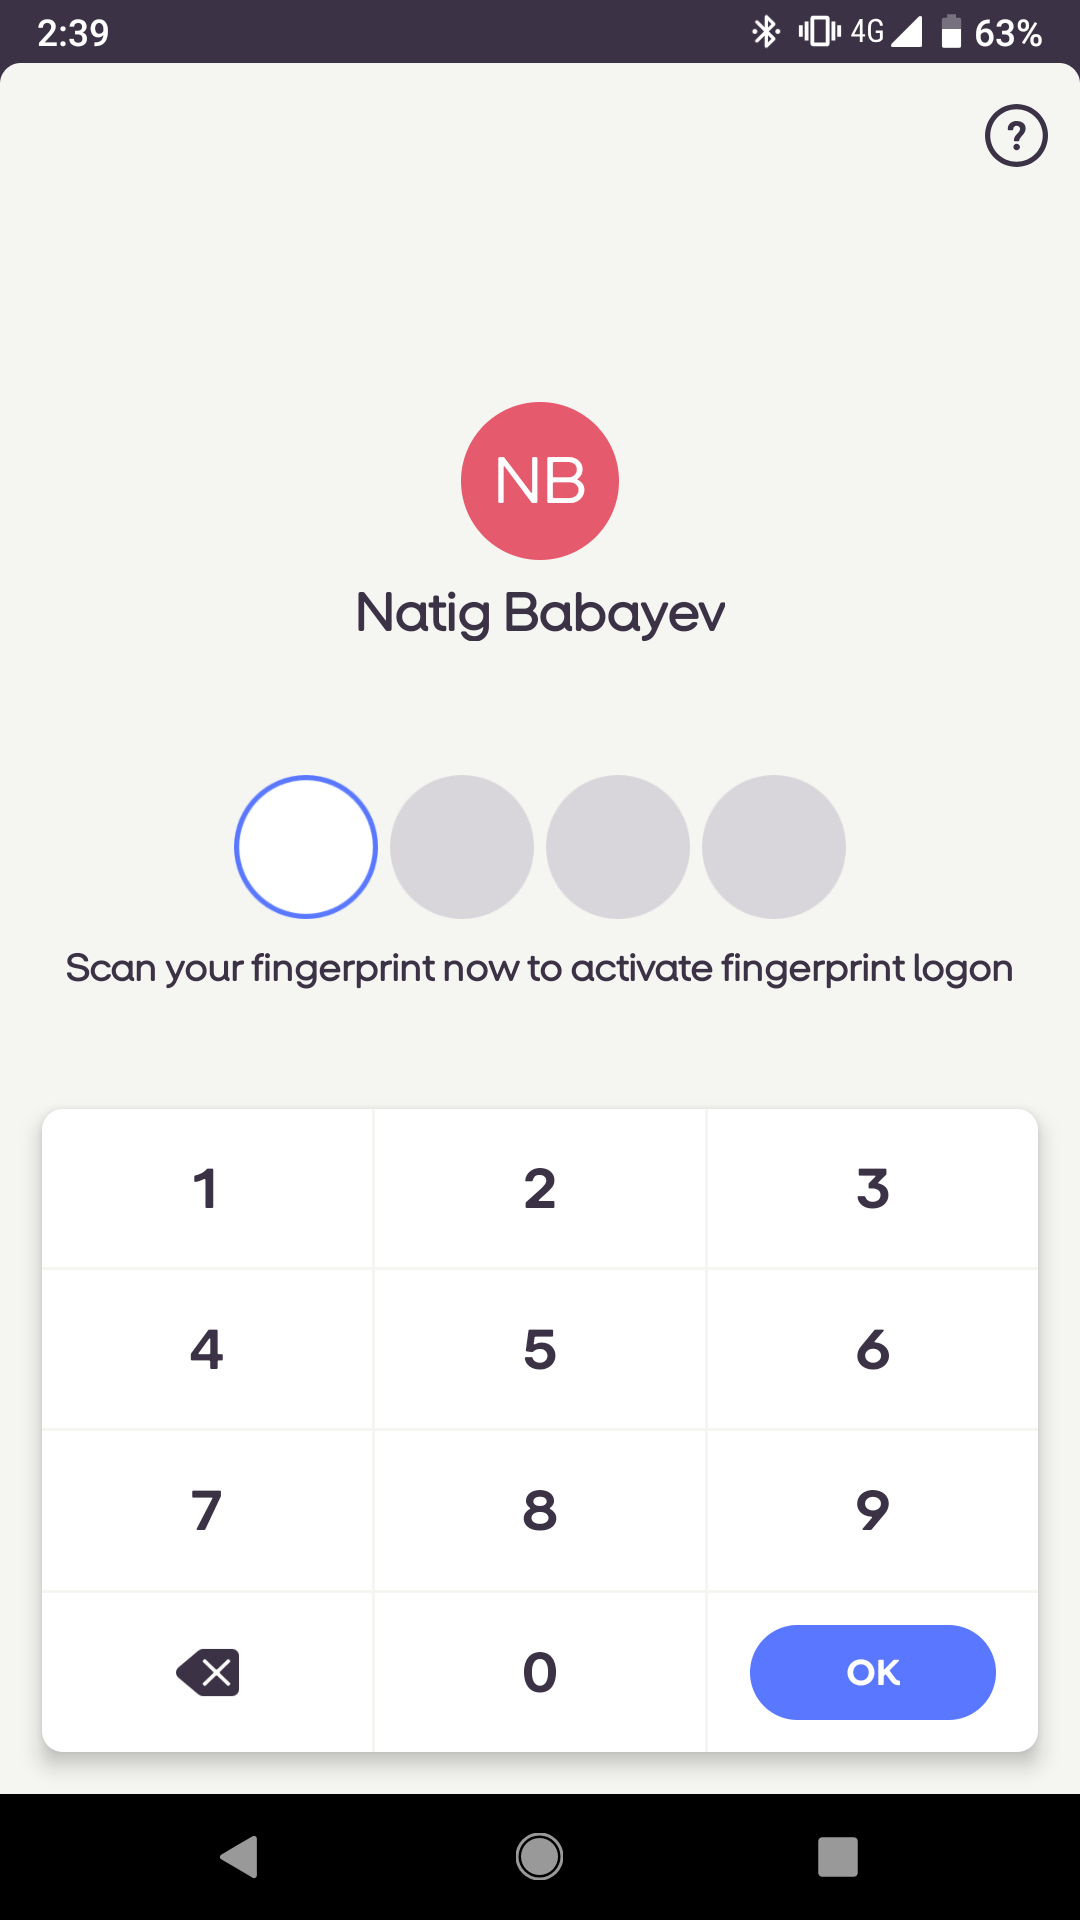
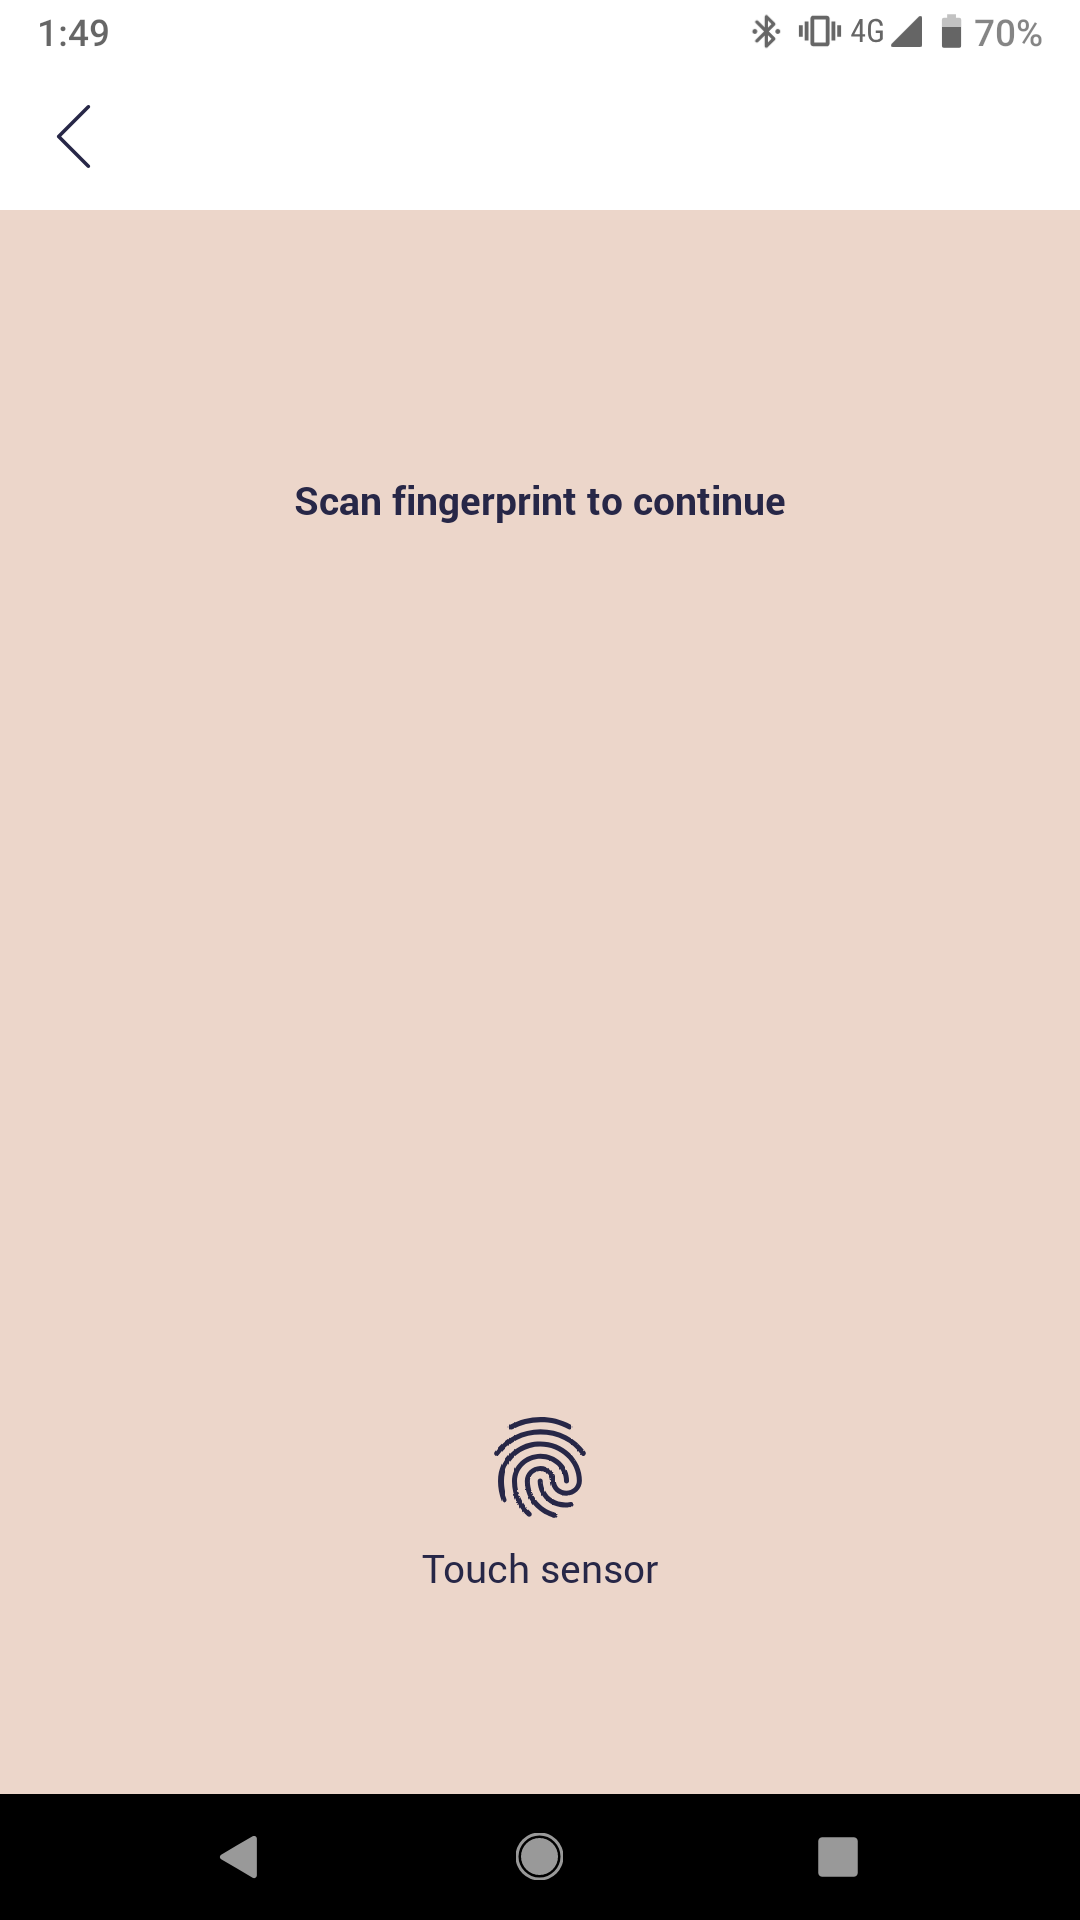
Let’s take a look at some examples:
| | | |
|---|---|---|
 |
 |
 |
Fingerprint authentication screen on 3 different Android apps
As you can see, even though all of those apps are in fingerprint authentication screen, each of them has different look and feel. In my opinion, certain types of user experience should be standard on Android devices regardless of which app you use. This type of experience was missing from FingerprintManager.
If you wanted to use FingerprintManager in your app, as a developer, you had to handle the UI part of your fingerprint authentication and you could use one of following solutions:
-
Design UI, implement fingerprint dialog, manage its state, add custom error handling, etc.
-
Copy and paste the code from Google’s sample
-
Use 3rd party libraries which can handle fingerprint authentication for you.
These solutions weren’t perfect and the fact of not having standard UI was annoying for me.
As of API level 28, FingerprintManager was deprecated and BiometricPrompt was introduced. It brings standard experience for fingerprint authentication and potentially less bugs when you implement it from scratch. However, minimum supported version of BiometricPrompt is Android P.
Does it mean developers still have to implement
FingerprintManagerfor users who have Android devices running versions below Android P?
The answer is no.
In September, Google released first alpha version of androidx.biometric library which allows developers to use only androidx.biometrics.BiometricsPrompt and support all devices without writing boilerplate code.
Here are the steps to implement BiometricPrompt Compat:
1. Add androidx.biometric dependency to app level build.gradle file:
dependencies {
    // ...
    implementation 'androidx.biometric:biometric:1.0.0-alpha03'
}
2. Create BiometricPrompt instance:
Before writing the code, let’s see the responsibility of BiometricPrompt class from documentation:
A class that manages a system-provided biometric prompt. On devices running P and above, this will show a system-provided authentication prompt, using a device’s supported biometric (fingerprint, iris, face, etc). On devices before P, this will show a dialog prompting for fingerprint authentication. The prompt will persist across orientation changes unless explicitly canceled by the client. For security reasons, the prompt will automatically dismiss when the activity is no longer in the foreground.
As you can see, on devices running Android P and above, BiometricPrompt is not only limited to fingerprint authentication, which is great!
BiometricPrompt class has only one public constructor which accepts following parameters:
public BiometricPrompt (FragmentActivity fragmentActivity, Executor executor, BiometricPrompt.AuthenticationCallback callback)
As a required parameter, we need executor to handle callback events. So, let’s create one:
val executor = Executors.newSingleThreadExecutor()
Next, we can create instance of BiometricPrompt class:
val biometricPrompt = BiometricPrompt(activity, executor, object: BiometricPrompt.AuthenticationCallback() {

    override fun onAuthenticationError(errorCode: Int, errString: CharSequence) {
        super.onAuthenticationError(errorCode, errString)
        TODO("Called when an unrecoverable error has been encountered and the operation is complete.")
    }

    override fun onAuthenticationSucceeded(result: BiometricPrompt.AuthenticationResult) {
        super.onAuthenticationSucceeded(result)
        TODO("Called when a biometric is recognized.")
    }

    override fun onAuthenticationFailed() {
        super.onAuthenticationFailed()
        TODO("Called when a biometric is valid but not recognized.")
    }
})
3. Create BiometricPrompt.PromptInfo instance:
When we call biometricPrompt.authenticate() method, we need to pass instance of BiometricPrompt.PromptInfo. We can create instance of BiometricPrompt.PromptInfo using BiometricPrompt.PromptInfo.Builder.
val promptInfo = BiometricPrompt.PromptInfo.Builder()
        .setTitle("Set the title to display.")
        .setSubtitle("Set the subtitle to display.")
        .setDescription("Set the description to display")
        .setNegativeButtonText("Negative Button")
        .build()
Subtitle and description are optional parameters, so, you can skip those parameters. You might have question what’s the purpose of negative button text?
According to documentation, text for the negative button would typically be used as a “Cancel” button, but may be also used to show an alternative method for authentication, such as screen that asks for a backup password.
To detect if user clicked negative button, you can handle proper error code on onAuthenticationError() method of AuthenticationCallback:
override fun onAuthenticationError(errorCode: Int, errString: CharSequence) {
    super.onAuthenticationError(errorCode, errString)
    //...
    if (errorCode == BiometricPrompt.*ERROR_NEGATIVE_BUTTON*) {
        // user clicked negative button
    }
}
You can find more about error codes from here.
4. Start authentication
As a last step, you can call authenticate() method of BiometricPrompt instance and pass BiometricPrompt.PromptInfo instance we built in previous step:
biometricPrompt.authenticate(promptInfo)
If you want to cancel the authentication, you can call:
biometricPrompt.cancelAuthentication()
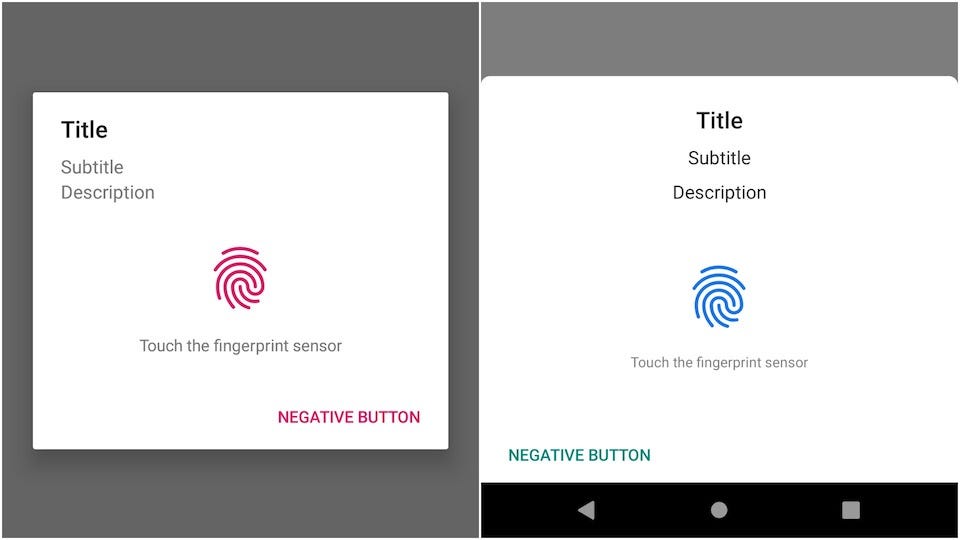
 Here is how biometric prompt looks like on Android 7.0 (left) and Android 9.0 (right)
Introduction of system-provided authentication prompt using a device’s supported biometric is great decision made by Google, and as you can see, it is easy to integrate.
You can check sample code from Github (Kotlin and Java)

Share on: